DGNum customized frontend for LiveKit
| .github/assets | ||
| lib | ||
| pages | ||
| public | ||
| styles | ||
| .env.example | ||
| .eslintrc.json | ||
| .gitignore | ||
| .prettierignore | ||
| .prettierrc | ||
| LICENSE | ||
| next-env.d.ts | ||
| next.config.js | ||
| package.json | ||
| README.md | ||
| renovate.json | ||
| tsconfig.json | ||
| yarn.lock | ||

LiveKit Meet
Try the demo • LiveKit Components • LiveKit Docs • LiveKit Cloud • Blog
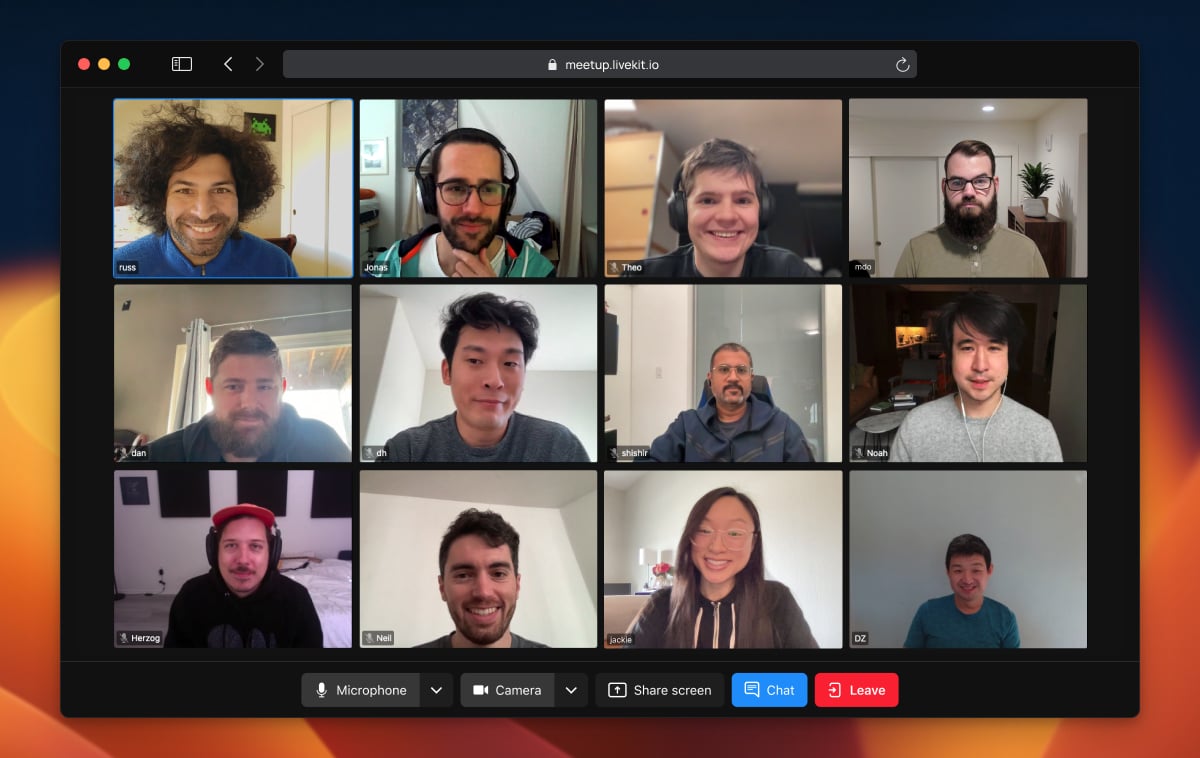
LiveKit Meet is an open source video conferencing app built on LiveKit Components, LiveKit Cloud, and Next.js. It's been completely redesigned from the ground up using our new components library.
Tech Stack
- This is a Next.js project bootstrapped with
create-next-app. - App is built with @livekit/components-react library.
Demo
Give it a try at https://meet.livekit.io.
Dev Setup
Steps to get a local dev setup up and running:
- Run
yarn installto install all dependencies. - Copy
.env.examplein the project root and rename it to.env.local. - Update the missing environment variables in the newly created
.env.localfile. - Run
yarn devto start the development server and visit http://localhost:3000 to see the result. - Start development 🎉
